Disclosure: This post may contain affiliate links, which means I may earn a commission if you decide to make a purchase through my links at no cost to you. Thank you for your support!
If you are considering hiking to the top of Half Dome in Yosemite National Park, careful planning, including a thoughtful packing list, is crucial to maximizing your chance of reaching the summit. Your Half Dome packing list is just as important as training for the iconic California hike.
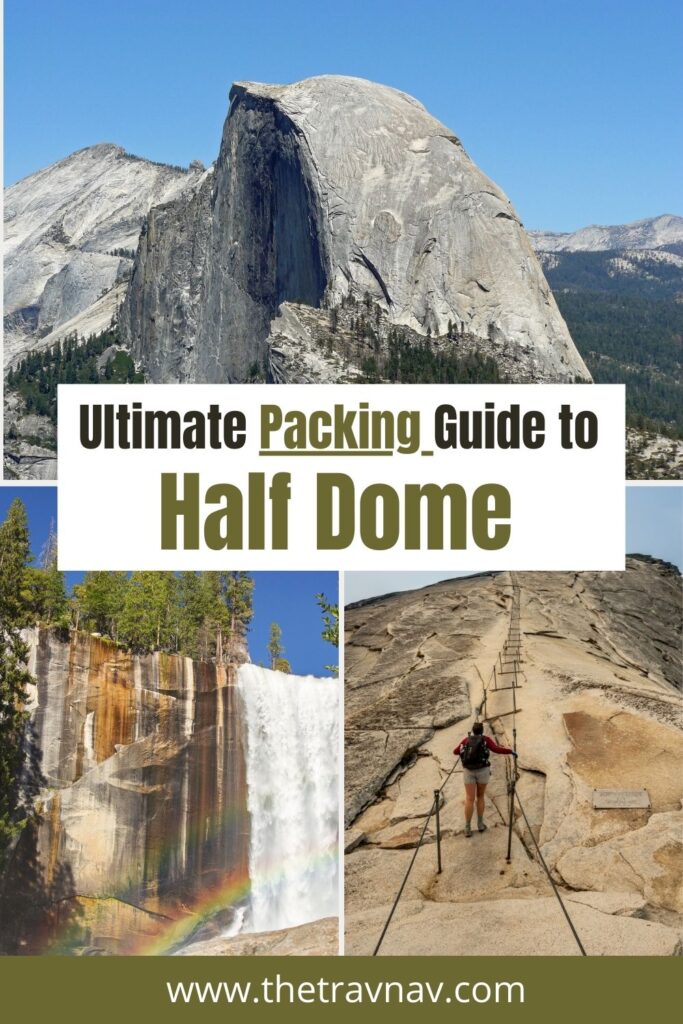
Based on my experience climbing Half Dome, I created the following gear list for an epic hike you will never forget. To learn more about Half Dome hiking tips, from obtaining permits to navigating the trail, visit my complete guide to hiking Half Dome.
Keep reading if you want to learn about what to pack for Half Dome!
Half Dome Gear List
Backpack
Before you can start thinking about what to pack, finding a comfortable backpack to hold your gear is crucial. Gary and I both opted for Osprey Sportlight backpacks. We choose these backpacks for a few important reasons:
- The backpacks are lightweight, given their respective capacities: 25 and 30 liters
- The Osprey backpacks have a supportive structure that allows the backpacks to sit comfortably on your hips and remain stable while hiking.
- Direct external access to the hydration sleeve
- Easy to use design that allows you to maximize the amount of gear you can pack
Essential Clothing for Hiking Half Dome
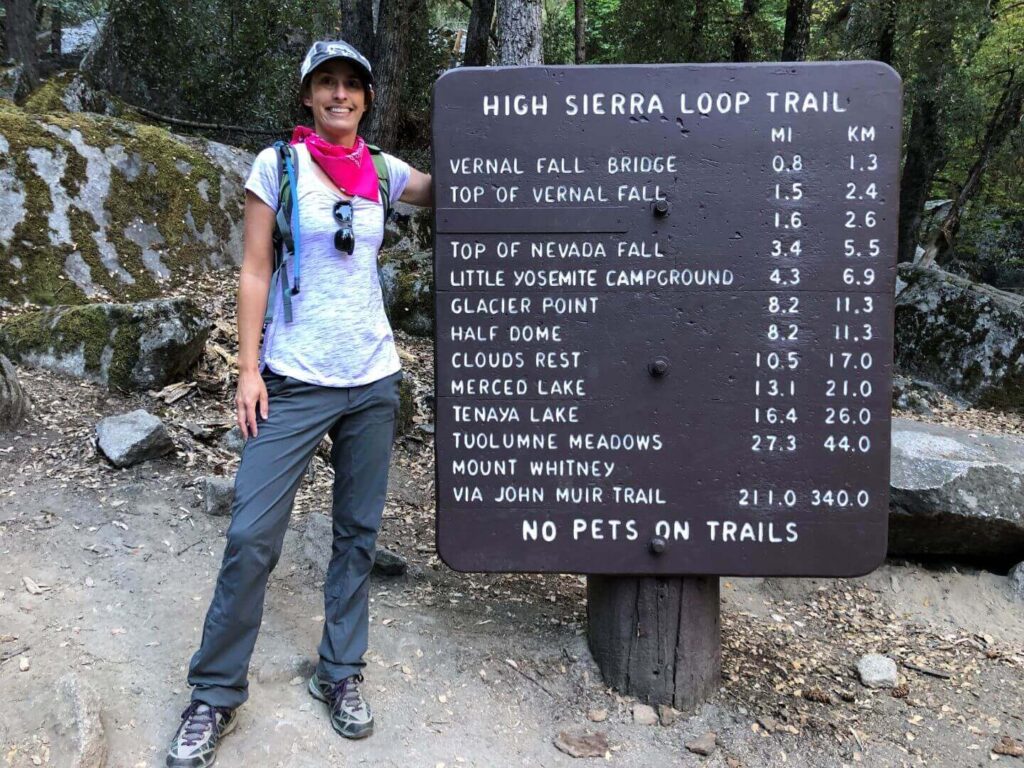
Having the proper clothing can significantly improve your comfort when hiking Half Dome. I highly recommend you wear moisture-wicking clothes, from your socks to your outer layer, to keep you cool and dry.
Samples of moisture-wicking clothes to include on your Half Dome packing list include:
- Base layers (depending on the time of year)
- Hiking pants/shorts (I prefer pants, but in the summer, some people prefer to wear shorts)
- Hiking shirt
- Fleece pullover
- Lightweight waterproof jacket to protect you from rain and wind
- Pancho
- Socks – Merino wool is a soft, sustainable natural fiber that keeps you dry, resists odor, and can help prevent blisters.
- Hat – to keep the sun out of your eyes
- Beenie – to keep you warm at higher elevations where the temperature can drop quickly.
Pro Tip: Pack an extra pair of socks for the hike. Depending on the time of year you are hiking, the Mist Trail might be wet, or if it is a hot day, having a dry pair of socks can save your feet from blisters.
Pro Tip: A poncho might also be useful if the weather forecast is poor. However, if it is raining, I suggest you skip climbing the Half Dome cables because the granite face is too slippery.
Gloves
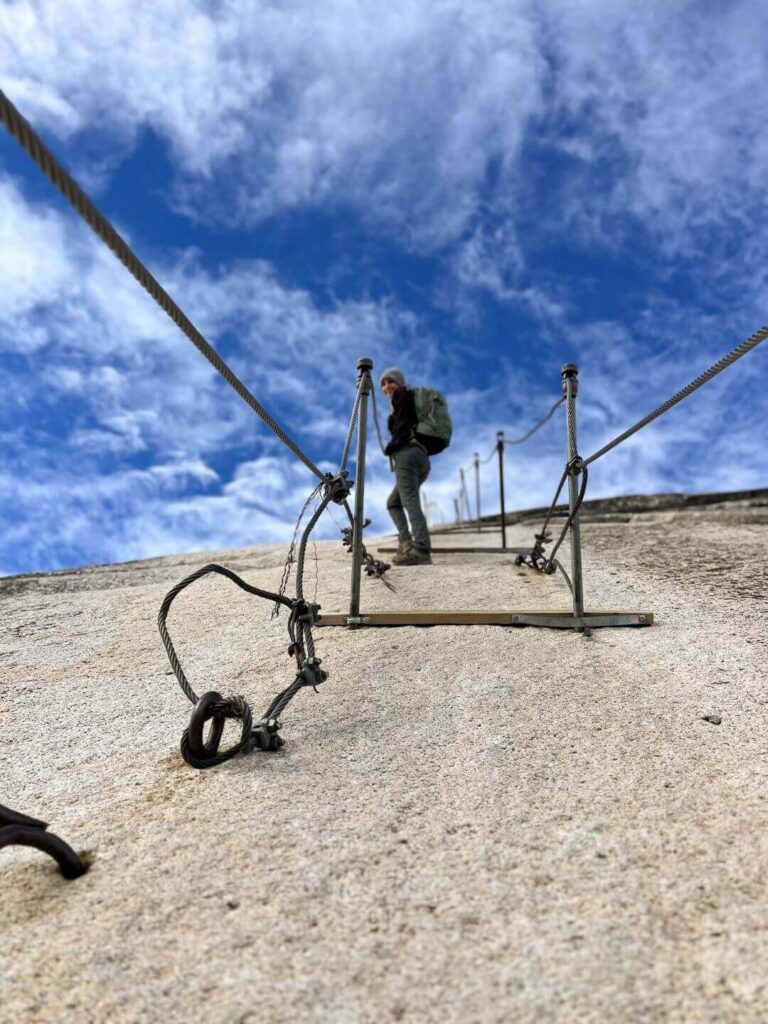
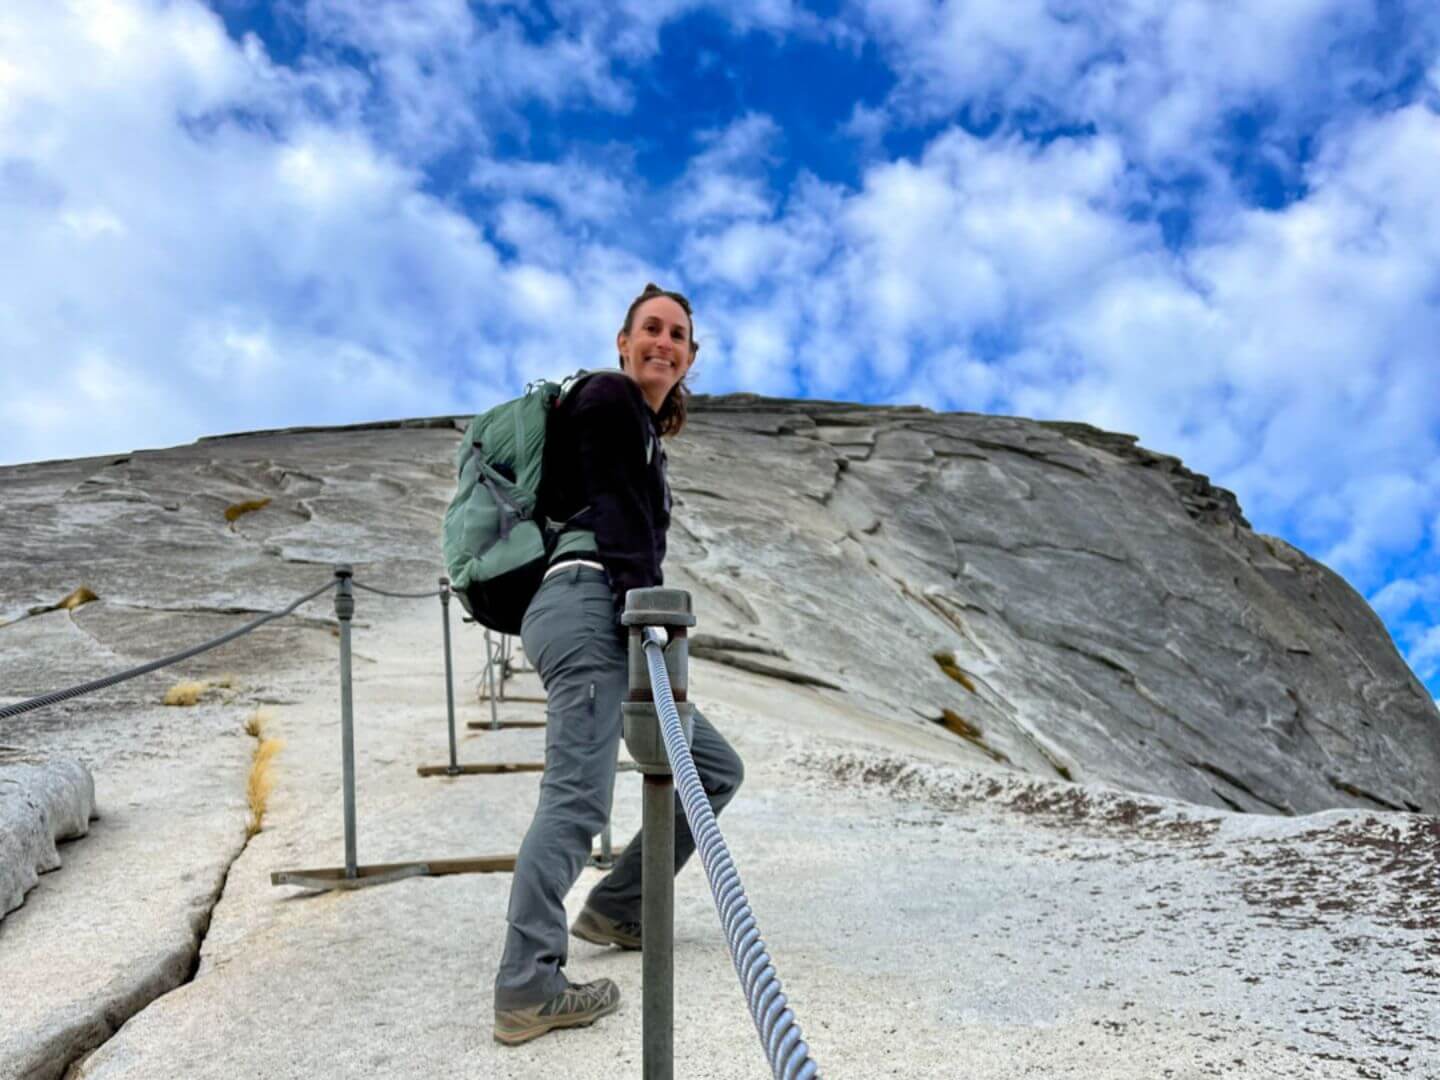
In my opinion, if you plan to hike the Half Dome cables, gloves are necessary. Pulling yourself hand over hand up steel cables could tear up your hands. Gloves could prevent blistering and tears in your skin.
The gloves do not need to be fancy. You can find a good pair of gloves for less than $15. I used a pair of Nitrile work gloves that were light and sticky, giving me extra grip strength for the cables.
Footwear
When it comes to hiking, proper footwear is crucial. Hiking boots that fit properly can be the difference between a good hiking experience and a miserable one. I love my tall Vasque hiking boots. I prefer the extra support of a taller hiker boot, especially for long hikes. Gary agrees and has a pair of Solomon hiking boots he loves.
A good hiking boot for climbing Half Dome will have three essential characteristics:
- Enhanced traction – you don’t want to slip on the granite face
- Ankle support – the hiking boot should create a comfortable and durable shape around your foot and ankle to prevent your foot from moving around
- Waterproof design – since the ground might be wet or it could rain during your hike, you’ll want to buy waterproof hiking boots
If you are buying a new pair of hiking boots, be sure to break them in before the big day. Try wearing your new hiking boots around the house for a couple of days (before they get dirty), and then wear them on your training hikes. Your boots should be broken in before your Half Dome adventure.
Essential Gear to Pack for Hiking Half Dome
Water Bottles/Hydration System
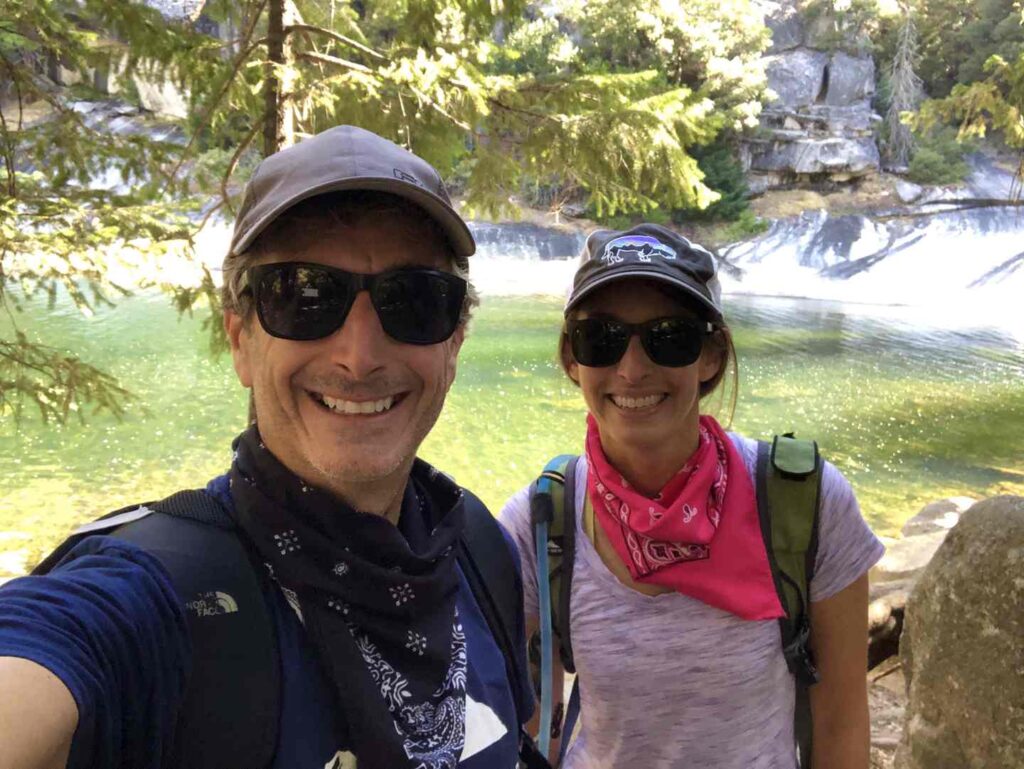
The most important item on your Half Dome packing list is water. You can carry all your water or bring some of it and plan to fill up on your descent. You should carry at least four liters of water. Gary and I packed 10 liters and all but 1 liter, and it was a cool day.
Set yourself up for success by using a bladder that fits in your backpack. We decided to each have a bladder in our backpack, and each carried a backup water supply, so once we finished the water in our bladders, all we had to do was pour the backup water into the bladder. Alternatively, you could buy two bladders, which seemed unnecessary. I opted for the Osprey bladder, and Gary purchased an unknown brand at the last minute. Unfortunately, his leaked a little at the beginning of our hike, but he was able to fix it. I found the Osprey bladder to be easy to use and durable. However, I would suggest spending the extra few dollars and buying the cap for the mouthpiece. It’s annoying that the cover isn’t part of the design, but I didn’t want my mouthpiece in the dirt every time I took my backpack off.
In addition, we also brought a water filtration bottle, just in case we needed more water on our hike. Can you never be too safe when it comes to having enough water? Dehydration is one of the most common ways people get injured on the Half Dome hike.
Map/Compass/GPS
Navigation tools, like a compass, are essential for staying on the right path. We also downloaded the map from Alltrails.
Pro Tip: Alltrails only allows pro members to download maps that can be used offline. Any maps you plan to download should be done before you leave for your trip. The Wi-Fi is almost non-existent in Yosemite National Park.
Headlamp/Flashlight
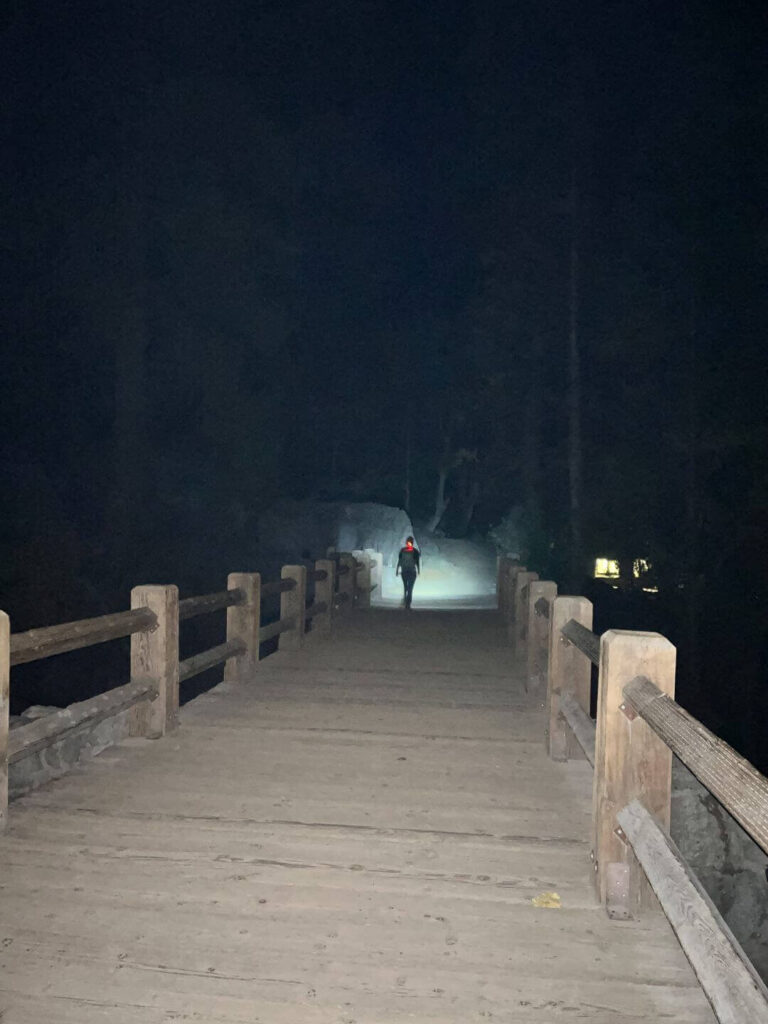
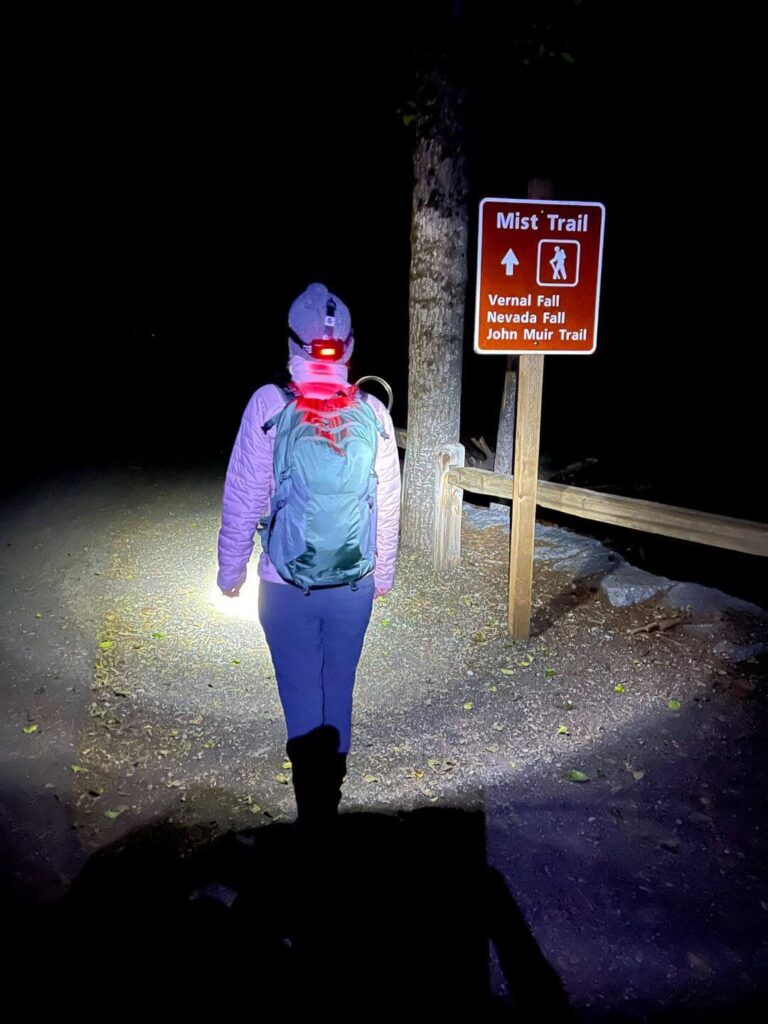
A headlamp is non-negotiable for early morning or late evening hikes. If you want to be able to see the trail, I highly recommend using a headlamp. Not being prepared with a headlamp is an unnecessary risk. While your eyes might adjust to the dark, I wouldn’t take that risk. I used the DanForce Headlamp, which was ultra bright and has several light settings, including a secondary red light. Hiking at 4 am in the dark was not an issue with the DanForce Headlamp.
I would avoid relying on your smartphone for a flashlight for a few reasons: 1) you don’t want to run your battery down; 2) you want your hands to be free while hiking; and 3) the light won’t be bright enough.
First-Aid Kit
Your Half Dome packing list should include a varied first-aid kit that anticipates a variety of injuries you could suffer while on the trail. For instance, you want to be prepared for blisters, scraps and cuts, and ankle or knee sprains. So, your hiking first aid kit should include bandages, blister pads, pain relievers, and any personal medications.
You may also include tweezers, antiseptic, and a knee brace.
Firestarter
For those with no fire starter experience, like me, I’d recommend a fire starter kit. But remember that fires can quickly spread in Yosemite, and you need to be mindful of whether lighting a fire could lead to a massive wildfire.
Duct Tape
Duct tape can be used for various repairs on the trail. Instead of carrying a roll of heavy duct tape, Gary likes to wrap it around a pen to make it lightweight and easy to pack. Or you can purchase a travel pack of duct tape in fun colors.
Emergency Blanket
Those of you who live in California are probably familiar with the lightweight silver emergency blankets. I pulled one out of my earthquake kit to bring on our hike. It is unlikely you will need it on the trail, but stranger things have happened.
Mirror
No, I am not suggesting a mirror so you can check yourself out on the trail. A mirror can be used to reflect the sun and alert others of an emergency.
Sunscreen
Applying sunscreen is important since you will be outside for 10-12 hours. I like the Neutrogena Sport Face Sunscreen and find it offers good protection while active outdoors.
Sunglasses
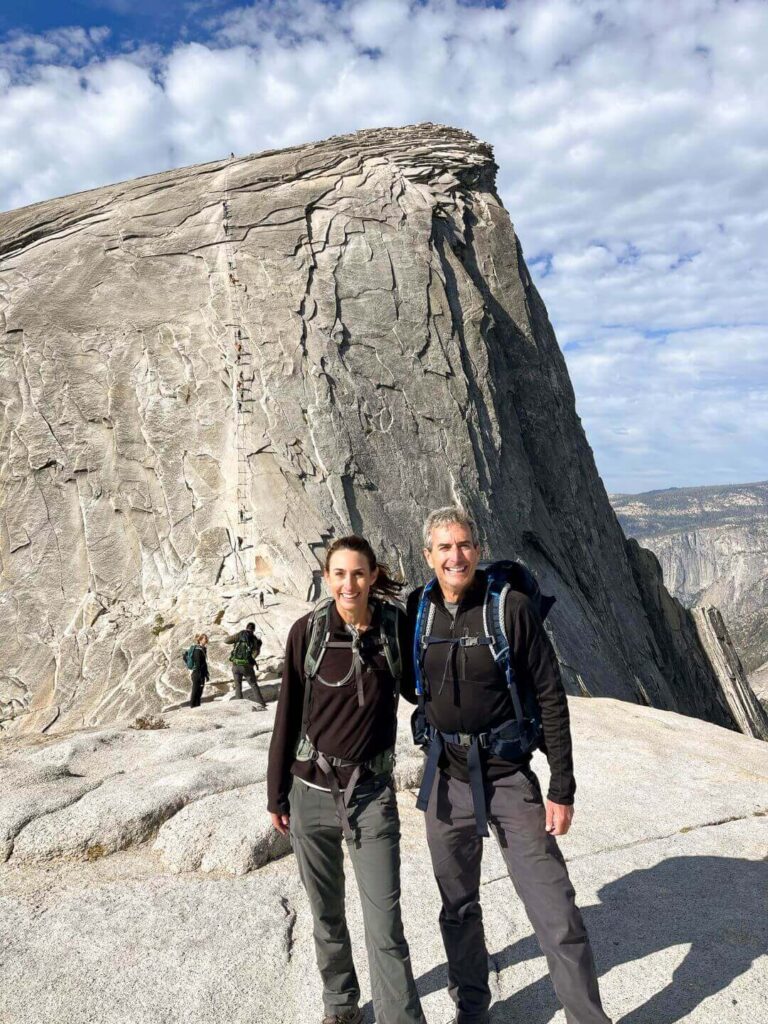
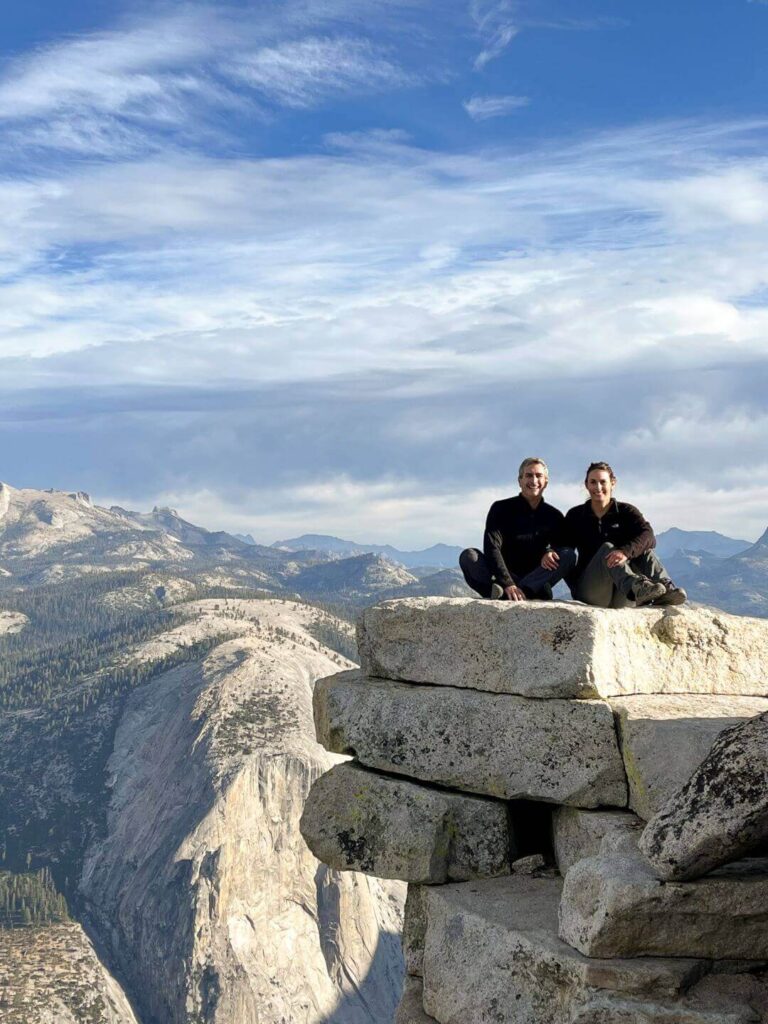
Sunglasses can protect your eyes from the sun. The climb up the subdome and the Half Dome cables are above the tree line and, therefore, completely exposed to the elements.
Baseball Hat
A hat can help protect against UV rays while hiking.
Multi-Purpose Tool
A multi-purpose tool should be part of your Half Dome packing list. You never know if you will need a multi-purpose tool for repairs and other tasks. This Leatherman comes with 19 tools such as pliers, wire cutters, knife, saw, hammer, can opener and more in a compact 4.5-inch size that weighs a mere 7.5 ounces. It is lightweight and designed for the outdoor enthusiast.
Whistle
A whistle is essential in emergencies for signaling and communicating. You can buy a whistle with a compass or the survival paracord bracelets that include things like a fire starter, whistle, compass, and paracord.
Food and Snacks
So, this is where I severely overpacked for our Half Dome hike. I assumed I would be starving and I wasn’t sure how long we would be hiking. I was surprised my appetite was minimal, but that can happen at high elevations.
It took us about 11.5 hours from trailhead to trailhead, with multiple stops on the way down. If you follow our plan and start hiking at 4 am, most people will return by 4 pm. If you assume you will be on the trail for 12 hours, I suggest packing the following:
High-Energy Snacks
Consider packing trail mix, energy bars, the complete cookie, jerky, and/or dried fruit for quick energy. I ate all of these snacks on the trail.
I also like having a banana and a clementine on the trail.
Lunch on the Trail
Gary and I like to eat sandwiches on long hikes. We brought bread and an avocado from home and bought a package of turkey and cheese from the Curry Village market the night before our hike. We also brought individual packets of almond butter.
We used an insulated lunch bag and a small cooler ice pack to keep the meat and cheese cold. The night before our hike, we stuck our cooler ice pack in a bag of ice to keep it cool.
After we scaled the Half Dome cables and were safely down the subdome, we found a quiet spot to make sandwiches. We used the multi-purpose tool to cut the avocado. I was happy to sit, eat, and relax before heading back down the trail.
Pro Tip: Bring a little extra in case you are out on the trail a little longer than expected.
Dessert
While not the healthiest option, Gary and I like to reward ourselves at lunch when we are on a challenging hike with a cookie or something sweet. It’s the small things that can motivate you when you are tired.
Electrolyte Replacement
Gary and I each had a hydration packet before hiking the subdome and, ultimately, the Half Dome cables. I needed electrolytes and an energy boost to maintain hydration before reaching the top of Half Dome.
I recommend carrying a separate bottle to mix the hydration packet with water. The easiest thing to do is pour water and the powder packet into the empty lightweight bottle (like a single-use plastic bottle you previously used) and shake it well.
Optional Gear to Add to your Half Dome Packing List
Trekking Poles
We did not use trekking poles, but lots of people do. I don’t think they would be all that helpful on the way up, but hiking back down the Mist Trail, the poles could provide you with extra stability and reduce the pressure on your knees when your legs are tired.
Camera/Phone
You will want to snap at least a few pictures while hiking. Remember to conserve battery while snapping away if you need to call while hiking.
Portable Charger
We brought a portable battery charger to ensure at least one of our cell phones would always have power on the hike in case of an emergency.
Insect Repellent
We hiked Half Dome in October. Bugs were not an issue for us, but in the warmer months, bug spray might be useful.
Female Urination Device
Let’s be honest. You will have to pee on the trail if you drink four liters of water. If you have a small bladder, like me, let’s say you might end up going far more than you would hope. The problem is that only a handful of bathrooms are on the trail. This means it could be hours between bathrooms.
Using the Luxiv disposable female urination device opens up the places you can go and prevents you from having to squat in areas that aren’t so inviting. I find these super easy to use on hiking trails.
Pro Tip: I highly suggest trying it out at home first. You don’t want to pee on yourself on the trail accidentally. Also, I suggest you bring a separate trash bag to dispose of the urination device(s).
Permit and Documentation
Half Dome Permit
In order to hike the subdome and the Half Dome cables, you need a permit. You can learn more about this process in my complete guide to hiking Half Dome. In short, permits may be obtained in advance through the lottery system.
Identification
At the base of the subdome, a park ranger will ask you for your valid ID and permit. You need both to reach the summit.
Pro Tip: I kept the permit and my driver’s license together in a Ziplock bag that was easy to find in my backpack. I wanted these items to be easily accessible without unpacking my whole backpack to see them.
Leave No Trace Essentials
Ziplock Trash Bag
It’s important for hikers to preserve our parks for the next generation. One way to do your part is to pack all your trash to keep the trail clean. I recommend bringing a Ziplock bag for your trash so nothing spills from your trash into your backpack.
Napkins/Paper towels/Kleenex/toilet paper
Remember, the leave no trace principals and pack out any paper products.
Hand Sanitizer
Your hands will get dirty on the hike. Before you eat or clean a wound, you might want hand sanitizer or a wet wipe.
Half Dome Packing List Takeaways
By packing thoughtfully and considering the specific challenges of the hike, you can ensure a safer and more enjoyable experience.
Remember that the weight of your pack makes a difference. You want the items you pack to be as light as possible. As you pack for Half Dome, think about each item you plan to pack and ask yourself if an item is necessary or if there is a lighter alternative.
I hope this post helps you decide how to dress for the Half Dome hike and what you need to pack for climbing Half Dome.
When visiting Yosemite, be sure to check out my Yosemite tips, things to do in Yosemite Valley, the best things to do in Yosemite at night, and the best activities on the Tioga Pass.
If you enjoy hiking, you might also like my complete guide to hiking Half Dome in California and hiking in other parts of Yosemite, Banff, Sedona, and Punta Mita.
Let me know in the comments if you think I should add something to this list or if there is a particular item you think is essential to pack for a Half Dome hike.



Half dome hike looks interesting! I visited Yosemite many years ago but missed this hike. Thanks for the useful tips such as first aid, water and wearing layers. 🙂
this sounds useful for all treks even in my part of the world in Asia! i’m an occasional light trekker so not very experienced esp with the packing, def came across some really useful tips here – thank you !!!
Great packing list! You are so lucky to get a permit. I got one a few years ago and ended up not being able to go on the day I won 🙁
Oh, that’s unfortunate. Hopefully you will have a chance to go in the future.
These are such great tips for a packing list for Half Dome. Thanks for sharing your recommendations and experiences.
I’ve been looking at the female urination devices & talking about getting one – what a great tip to pack for a long hike like this!
This post is so helpful, even for other hikes. I would not have thought about gloves for hikes that include cables, and also bringing a mirror is a great idea in emergencies. Thank you for these tips! This also reminded me to double-check the batteries in my mini flashlight in my hiking pack.
This post is so helpful! I never would’ve thought to pack gloves.
What a thorough guide !!
Very cool experience! Haven’t done this hike yet, but it sounds really exciting. I like the detailed descriptions of the items to take. I’m the type who always overpacks, so it’s very useful to know what to bring and what to skip. Did you have any challenges climbing? Or did everything go smoothly?
We had an incredible experience. Although I was exhausted, everything went smoothly!